Preparation
- Old wall: remove all old, loose and flaking paint and clean. Then apply a stabilizing primer depending on the type of surface. When the primer is completely dry, apply a coat of PRIMER 900 and after 6 hours at 20°C, proceed with the application of Klondike®.
- New wall: clean (and if necessary, fill/fill) the surface to be painted. Once dry, sand the surface and apply a coat of suitable primer. When the primer is completely dry, apply a coat of PRIMER 900 and after 6 hours at 20°C, proceed with the application of Klondike®.
- Wood, glass, light alloys and painted iron: remove all grease from the surface and sand well, so that it is smooth and clean. Apply a coat of primer suitable for the specific type of surface and then apply a coat of PRIMER 900. After 6 hours at 20°C, proceed with the application of Klondike®.
- New iron (without preparation): remove all grease and any layers of rust from the surface and apply a coat (or more) of a suitable anti-rust treatment product. When this is completely dry, apply a coat of PRIMER 900 and after 6 hours at 20°C, proceed with the application of Klondike®.
Note: When the substrate is plasterboard, the surface must be troweled in its entirety and not just at its joints and screws. It must then be primed with a suitable plasterboard primer and then follow the above preparation procedure.
Application
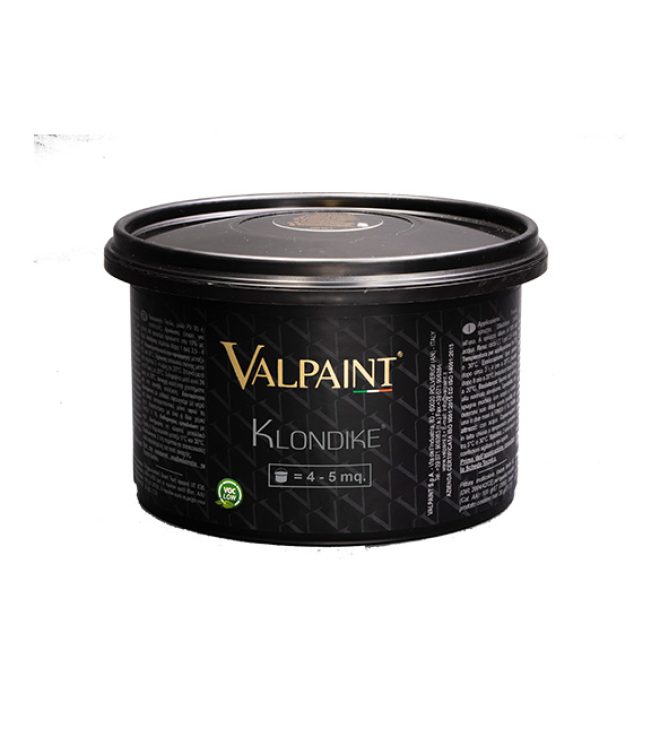
To create the colours shown in the catalogue, carefully mix Klondike® with the exact quantity of COLORI pigment. To create the gold or silver effect, you should add GOLD G 100 or SILVER G 200 to the coloured Klondike® product.
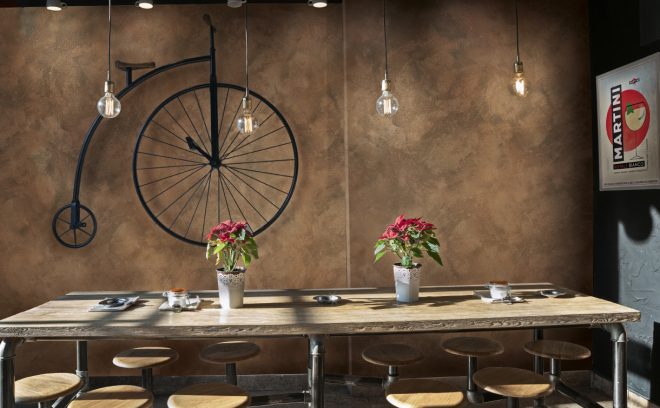
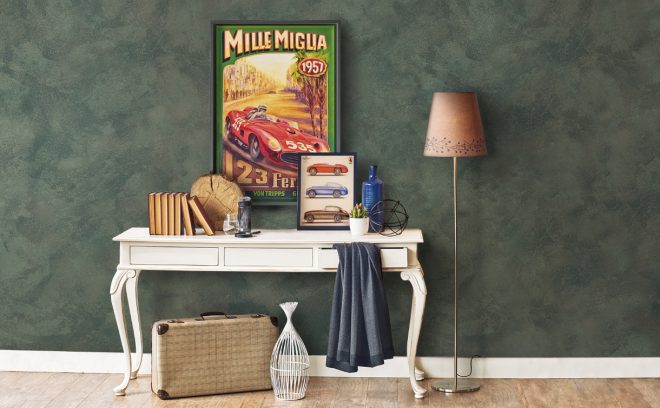
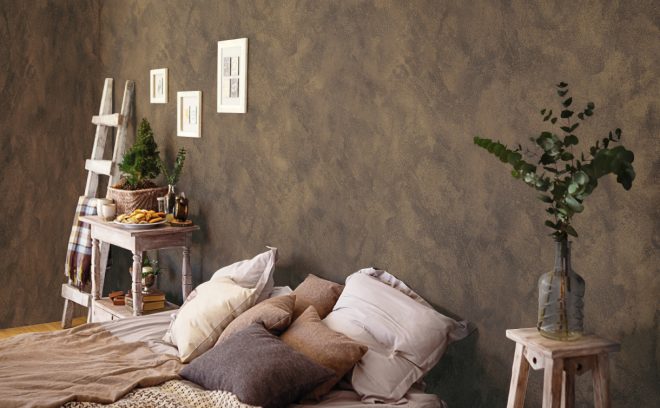
- Classic effect (with trowel): apply Klondike® with the PV43 stainless steel trowel, using uneven strokes of 15-30 cm in all directions, leaving a light and uneven coating of the product on the surface. After 5 – 6 hours at 20°C, apply a second coat of Klondike® using the same method as the first coat (described previously). After about 30 minutes at 20°C, “work” by applying light pressure, using the PV43 stainless steel spatula, but without product, with crisscross (X) movements of about 15 – 20 cm in all directions so that the color particles break into smaller ones, thus forming light and shadow reflections.
- Classic effect (Brush + Spatula): the classic effect can also be achieved using the following application cycle. Dip the Klondike-PV 76 brush in the product, making sure it is well loaded, and apply Klondike® using short strokes of 8-15 cm in all directions, with a movement from right to left and vice versa and from bottom to top and vice versa, leaving a light layer of product, which is unevenly distributed. After about 20 minutes at 20°C, use the PV43 stainless steel spatula (without product) to smooth the decorated surface, moving in all directions. After about 5 – 6 hours at 20°C, apply a second coat of Klondike®, using the same technique as for the first coat. After about 1 hour at 20°C, “work” by applying light pressure, using the PV43 stainless steel spatula, but without product, with crisscross (X) movements of about 15 – 20 cm in all directions so that the paint particles break into smaller ones, thus forming light and shadow reflections.
- Brush effect: dip the Klondike-PV 76 brush into the product, making sure it is well loaded, and apply Klondike® using short strokes of 8-15 cm in all directions, moving from right to left and vice versa, and from bottom to top and vice versa, leaving a light layer of the product that is unevenly distributed. After 5 – 6 hours at 20°C, apply a second layer of Klondike®, using the same technique as for the first layer. After about 1 hour at 20°C, “work” by applying light pressure, using the Klondike brush, but without product, with crisscross (X) movements of about 15 – 20 cm in all directions so that the color particles break into smaller ones, thus forming light and shadow reflections.